1974 Raleigh Gran Sport
Picutre Gallery and Comments at the bottom of the PAGE!!!!
I’ve always wanted the Raleigh Gran Sport. There’s other bicycles I’ve wanted but for some reason the Gran Sport has always caught my eye and has been on the top of my want list. It’s an attractive bike with it’s beautiful blue and white color scheme. It’s also fairly light with it’s Reynolds 531 tubing. The Gran Sport isn’t the most expensive bike, and it’s components aren’t the best. However, in it’s day it was a mid/upper level b icycle. I found the Raleigh Gran Sport beauty up in Brainerd MN at a very reasonable price. Let’s just say I damn near got it for free. To this day it is my best find of all time, and I’m not sure I’ll get that lucky again. For this project; I’m gonna treat it like a journal and update it as I go.
07/13/2017
I’ve had the Raleigh Gran Sport for almost a year now. It has sat way too long in my garage! The Gran Sport with it’s beautiful Brooks saddle and Reynolds 531 tubing needs to be reunited with the road once again! I am totally excited to restore this awesome bicycle to its former glory!
The first part of my madness when rejuvenating a vintage bicycle is stripping it. I just grab a decent sized box and baggies for the components and then I go to town dismantling it all.  Everything went pretty smoothly. Sometimes the seat post is stuck or rusted in. Luckily the Gran Sport’s seat post came out pretty easily. The cables I don’t keep so I just cut them with the cable cutters and threw them away. As for the housing; well I’m not sure if I should keep them or not. I figured since the Raleigh Gran Sport is somewhat of a collectible bicycle I decided to hold onto them. I really don’t think I will be reusing the cable housing though. With everything going smoothly, I was bound to come across some trouble. When I got to taking the handlebars and fork apart, I came across a stuck quill stem. Now in my earlier years when I had this issue I ended up using a saw to get it apart. It made sense at the time but I ruined a perfectly good handlebar stem in the process. This time around though I have experience. I came across this video and it has helped me a lot in the past as well as today. I’ve used the hammer technique many of times to “un-jam” the wedge.
  The only other problem I’ve come across is the stronglight bottom bracket. I knew going into it I would need a different sized crank puller. It wasn’t a surprise by any means. To my knowledge the only stronglight crank puller for this bike that works is the Stein 23.35 crank puller. Looking on the web they go for about 30-40 dollars on eBay. That’s more than what I bought the Raleigh Gran Sport for! My dad has a few gear pullers in his garage so I’m gonna try those first.
07/18/2017
I didn’t spend too much time on the vintage Raleigh Gran Sport today, but I did manage to cleanup and polish the brake levers. They turned out pretty good. I used Windex to clean up the rubber hoods. For the metal weinmann brake levers I used a combination of red and white jeweler rouge to polish and buff it to a shiny finish.
08/04/2017
I mentioned earlier that the stronglight bottom bracket needs a special sized crank puller. I decided not to buy the $40 stein puller and instead see if I could use a gear puller or pulley puller. My Dad had a 3 inch 3 arm automotive gear puller. This tool worked with amazing success on the drive-side. However on the non drive side it failed.The gap between the pedal arm and bottom bracket was to narrow for the “claws” on the gear puller arms to grab. There’s a lot of variant pulley/gear pullers out there and they aren’t that expensive. The “3” clawed puller can be usually found for 10 bucks. Also, auto part stores lend them out. As you can see in the picture on the left they are pretty simple to use. Like I said, the puller worked perfectly on the drive side cause the chain ring gives the puller arms something to grab onto. Once I had the crank off, I decided to take the bottom bracket off anyways. I left the fixed cup in and loosened the bottom bracket on the non drive side.(My wrench was just narrow enough to loosen the cup) By doing this I was hoping this would make a little larger gap for the gear puller to latch onto. However, it did not. I then decided go to the auto-parts store (most auto parts stores have lots of different gear pullers) and purchase a two armed gear puller with thinner “claws”. But as you can see on in the picture the gap is still to narrow.
 Although the picture looks like it fits, I can assure you it doesn’t. So now my next step is to just grind down the puller “claws” so it fits. It’s kind of been discouraging but the two armed puller was only five bucks, so I had nothing to loose and I’m still confident it will work once I grind it down a bit. Just a quick warning; if you decide to use a gear puller, you have to be careful and not bend the aluminum crank. I’ve read on other posts that this is a possibility. I did not have any issues with bending/ruining my crank. I would believe that as long as the puller is close to the base of the crank then it should be ok.
08/05/2017
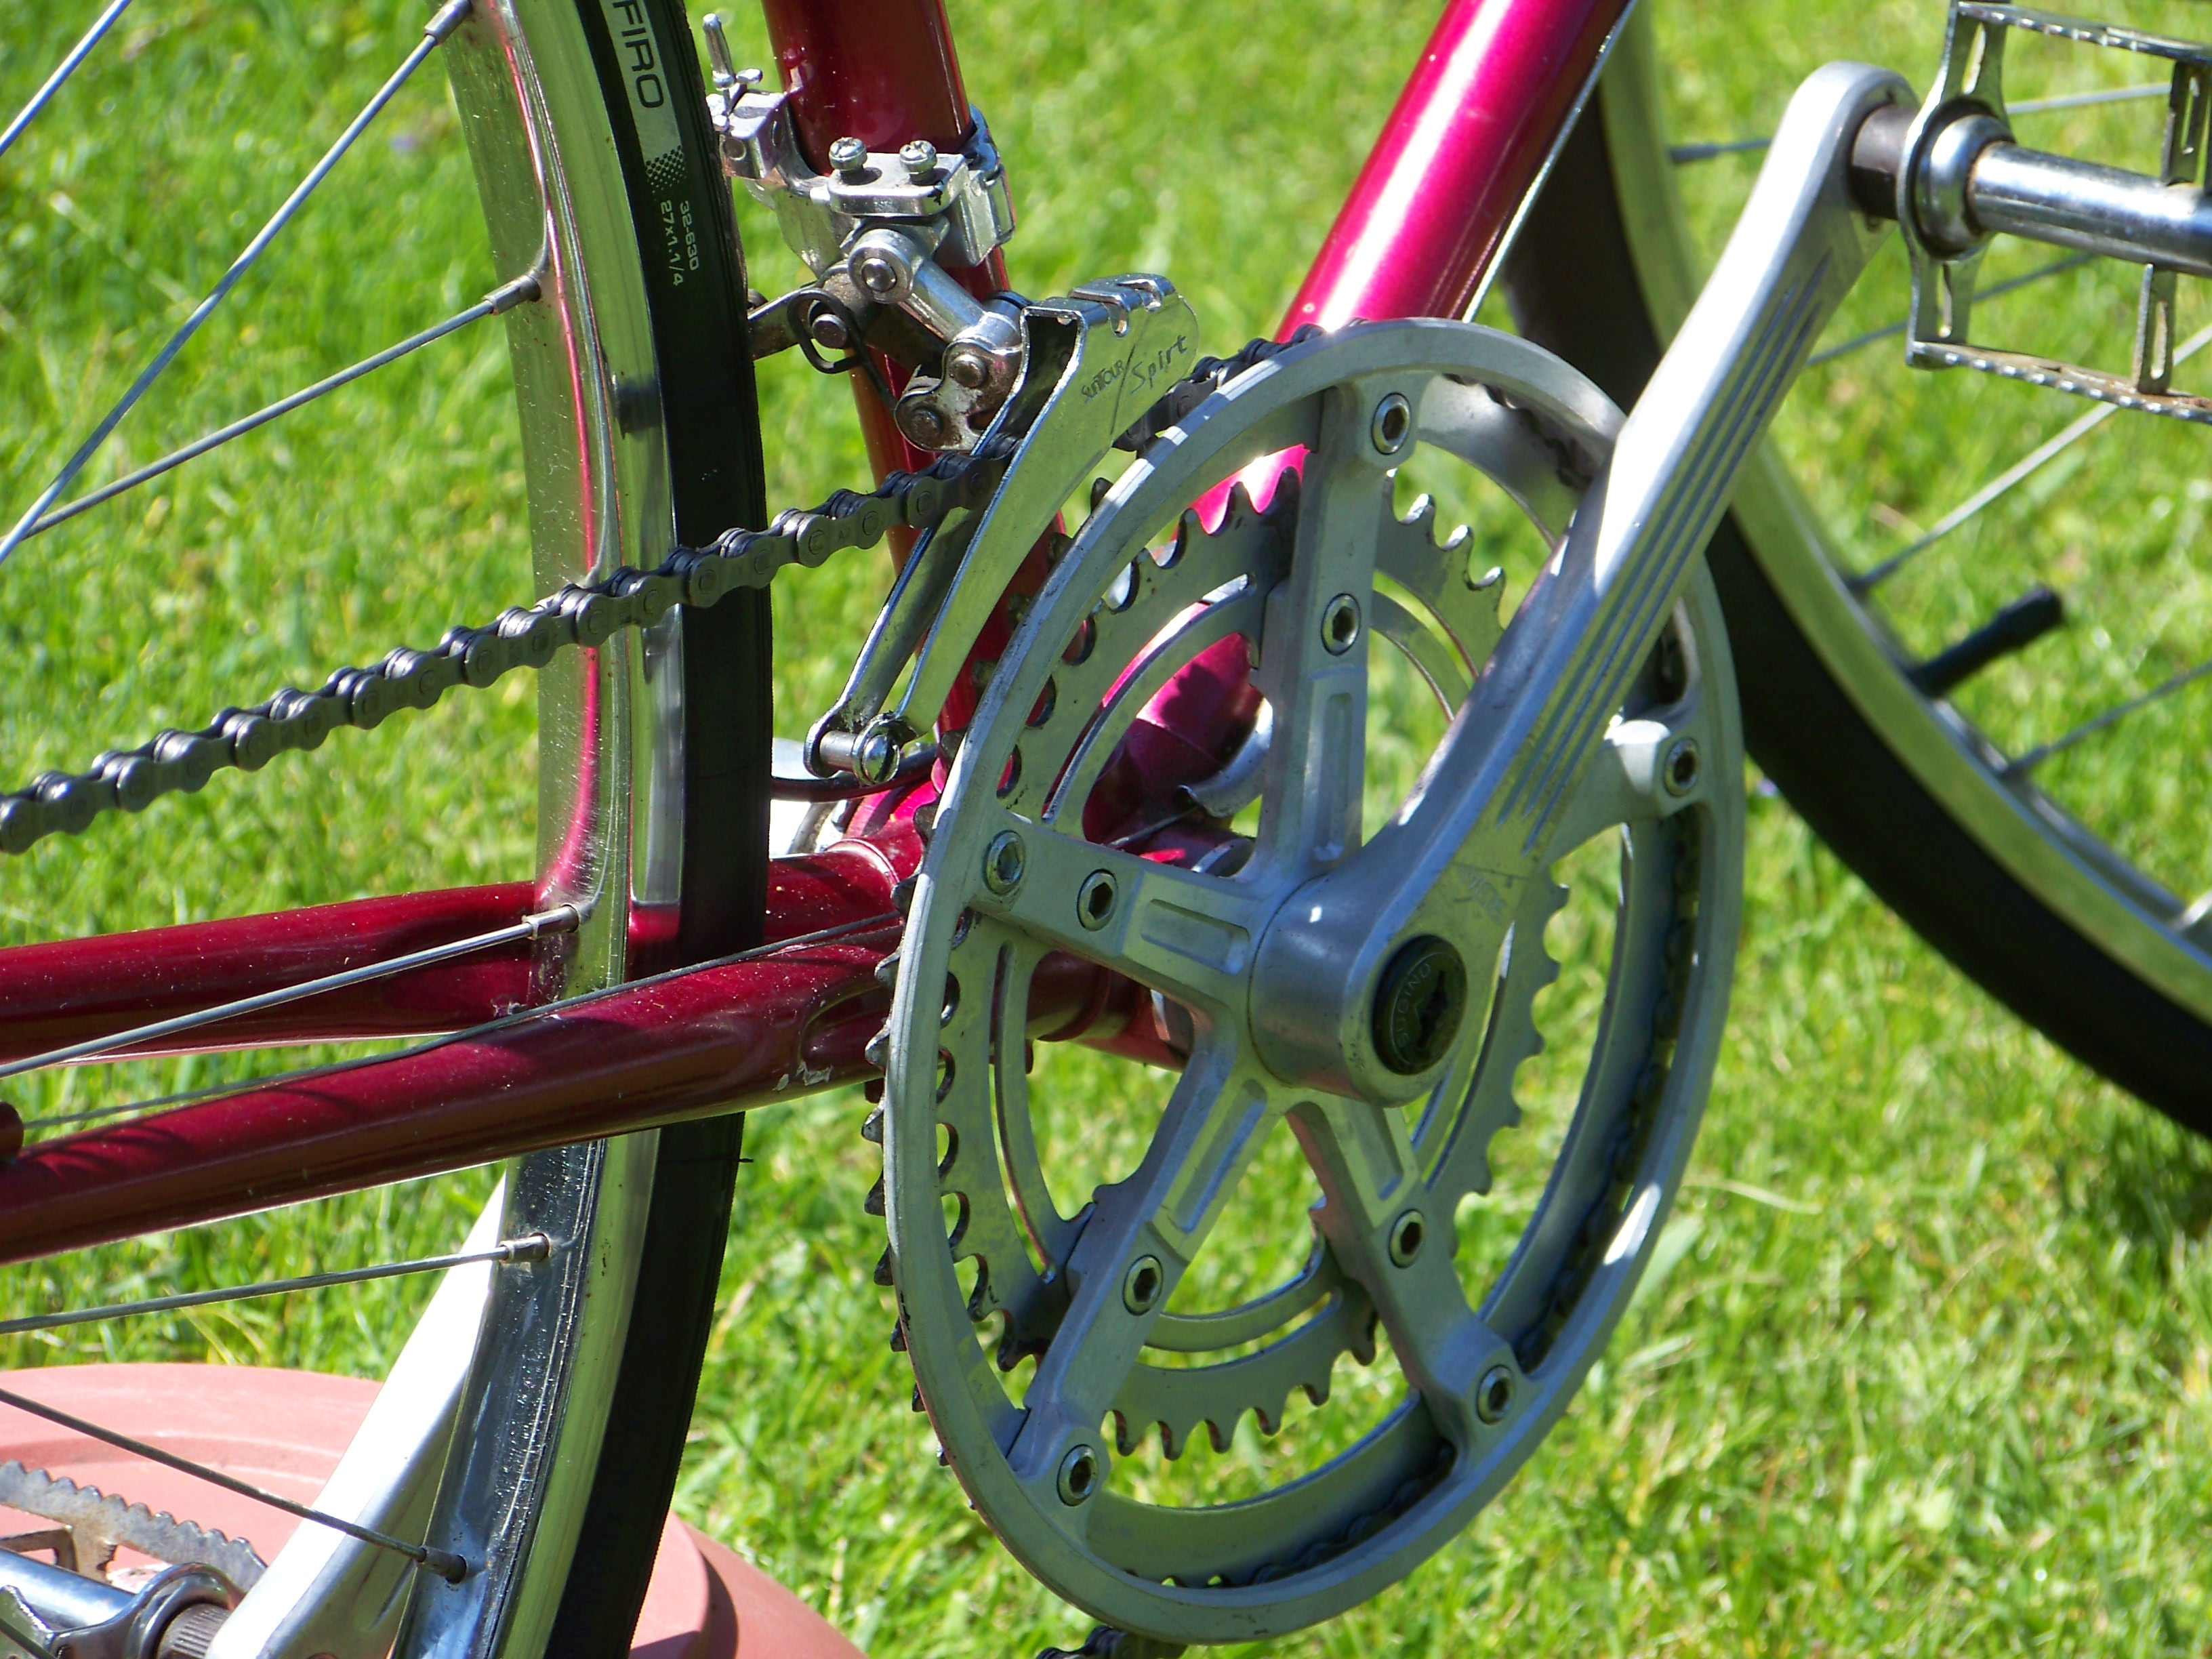
Now having everything stripped from the frame, I decided to clean and wax the frame and fork. I just use a rag and some warm suds. After I get the dirt and grime off, I then give it two coats of turtle wax. The turtle wax definitely gives a vibrant shine! Once I had the frame cleaned and waxed I then cleaned, polished, greased and put new bearings in the headset. I also took apart the chain ring and gave it a good cleaning as well.  Once clean, I polished and buffed it like the brake levers above. Neither the headset or crank was complicated. Sometimes it’s difficult cleaning the old grease in the crank teeth. I like using the brass brush but I have to be careful at times. There’s certain situations that the brass brush will scratch a surface. I usually test a small area first. When I tested the crank with this method, I determined it wouldn’t work. Probably because the crank is anodized? Therefore, I was very careful with using my drill brass attachment on just the teeth. What I’ve found best is spray the greasy teeth with wd40. Then going over it carefully with a brass brush attachment for your cordless drill.
08/18/2017
So a quick update on the non drive side crank arm. Earlier in the post I said I wasn’t going to buy the special crank puller tool for this specific bike. Instead, I used an automotive gear puller. It was successful on the drive side but there wasn’t enough gap on the non drive side. I tried grinding down the “claws” on the gear puller, however, it wasn’t efficient. I needed to grind down more than I thought. So finally I came up with another strategy. I wrapped the crank arm with a paper towel and secured it in a bench vice. I then took a large steel punch and hammered the bottom bracket axle out. It was a lot easier cause it really only took a good couple of hard “whacks”. If you ever decide to use this method I would recommend securing the arm in the vice very very tightly. Also, use something other than paper towels to protect the crank arm. I made a  couple of marks in mine. In the future I’ll probably use something more robust like an old shirt or something thicker if I ever have to use this method again. In the end I wish I would of bought the right tool for the right job. Seeing that I have few bikes that have the strong-light cranks, I should keep an eye out on eBay and see if I can pick one up for less than 30 bucks. The gear puller I believe worked great except the gap on the non drive-side of these bottom brackets are just to narrow. My Peugeot PX10 is the same way, but I’ve noticed on other bikes I have that’s there a lot more clearance. So maybe this method could work on other odd sized bottom brackets. It’s kind of frustrating but oh well. I got the job done without spending 40 bucks so I’m happy.
After I finally tackled the bottom bracket I proceeded to clean up the center pull brakes. I just take these apart as shown and clean them up with a brass brush and wd40. I then give them a nice shine and pol ish on my buffing wheel. There’s a lot of small pieces here so make sure not to lose anything. Before I put them back together, I also put a little bit of oil on the “pivots” so that they pull and release a lot more smoothly. The caliper arms can be a little difficult to put back on with the spring but if persistent they will snap back in. There might be a trick for this but I am unaware of it. Also, these are just your basic center pull dia-compe brakes. They are abundant and cheap so if you need spare parts they are easily found. My straddle cables were nasty. I replaced them with new ones I found on eBay. These straddle cables are also cheap and can be found easily. Velo Orange sells them for a few bucks as well.
Moving on, I then decided to clean up the simplex front and rear derailleur. Although these simplex components are light and functional, they are extremely vulnerable to breaking. They are made of plastic, so they tend to crack especially when they are 40 years old. Due to this fact they can be  quite rare and expensive, especially if they are the simplex prestige variation. Fortunately my front and rear derailleur are still function-able on this gran sport. The front derailleur does have a few cracks but it still works fine. Over the years the plastic will get dry and turn like a grayish color. At this stage they are very brittle, so I had to be careful when cleaning these. For the rear derailleur I took apart the jockey cage and pulled out the jockey wheels. I used a nylon brush
  and wd40 and cleaned all the dirt and grime. The front derailleur I left as is. I still cleaned it in the same manner but I didn’t want to take the chance of destroying it since it already had a few small cracks. After cleaning them with the brush I then used a fair amount of 3 in 1 oil to lubricate EVERYTHING, ESPECIALLY THE PLASTIC. Once, I rubbed in the oil the plastic became more flexible and turned back to it’s natural black color. I also made sure to oil the jockey wheel axles as well. Here’s some nice instructions on breaking down the rear simplex derailleur. Here’s some information on the font derailleur.
1974 Raleigh Gran Sport Gallery!!!!!
08/20/2017
The Raleigh Gran Sport is really starting to take shape. And I must say it is really looking  spectacular! All my cleaning, scrubbing and buffing is really paying off. The only components I really have to add to the bike are the chain, pump, and wheel-set. Once I get these next three things done then I move onto the details like cable housing and bar tape.
The wheel set, especially the hubs, was actually in pretty decent condition. Usually the rims, tires, tubes and spokes are shot for a bike this old. The front wheel was pretty simple. Unscrew the cone, snap the dust cap off and remove the axle. I use a heavy dose of wd40 to clean the hub, cones, and races. However, after cleaning the hub I rinse slightly with isopropyl alcohol. I’ve heard that wd40 doesn’t bond well with grease so I want to make sure there’s no traces of it.
I then dab a drop of oil on the spoke nipples. The oil run off from the spoke nipples I use to clean the rims themselves with a brass brush. Obviously avoid getting oil on the braking surface. The spokes were just wiped down with a rag and a brush for deposits of grime. From what I’ve read, spokes are nearly impossible to make like new again. They are anodized, so scraping or sanding of any kind will just destroy their shiny finish. By this time, the oil I dropped on the spoke nipples should of worked into the threads making it easier for the truing process. I’m not an expert at truing a wheel but I’m getting pretty decent at it. I have the robust park tool ts2 truing stand and I love it. I had a cheaper one which worked fine but the ts2 is just more heavy which means there is absolutely no play. The cheaper minora stand that I had worked fine but the ts2 is more efficient and accurate. Before I true the wheel I tighten the spokes if they need to be tightened and then I dish it with a dishing tool. After the wheel is dished then I put it in the truing stand. I like to flip the rim often between small indicator increments when I’m truing it. If I spend too much time on one side the wheel tends to come out of dish and then it just becomes a longer process.
The rear wheel was the same except it requires cleaning of the freewheel. Raleigh Gran Sport has a very unique simplex freewheel. So again I needed a special tool to remove it. The freewheel remover tools I do own would not fit this simplex freewheel. I get really impatient sometimes especially if I have to order something and wait to get the job done. Because of my urgency to get  the rear wheel done, I cleaned the hub and freewheel without removing it. I removed the cone from the non drive side and pulled the axle from the freewheel side. The bearings essentially fell out so that wasn’t difficult. What was a little challenging was cleaning the hub race on the freewheel side. To do this, I just used a lot of cotton swabs, and a metal pick with small pieces of a rag to clean it out. It wasn’t that difficult just a little time consuming. The freewheel was simple to clean as well. It’s actually easier to clean the freewheel while its attached on the wheel in my opinion. Again I sprayed the freewheel with wd40 and used an old t-shirt as a rag. I use a shoe shine motion when cleaning between the cogs. Basically just slicing the rag between the gears and going with a back and forth motion. After the freewheel was clean I then oiled it appropriately. I’ve also done this in the past for a more detailed thorough way to clean and lubricate a freewheel. I didn’t feel this specific freewheel needed it though. After all the cleaning and lubricating, I then installed the new hub bearings with a long angled tweezers. There was still plenty of room to do this on the freewheel side and actually I could of placed the bearings without a tweezers if I really wanted to. Dishing and truing the wheel was the same as the front so there was no difference there. All in all the removal of the freewheel didn’t pose that much of an issue.
09/22/2017
Well again it’s been a while since I’ve worked on the Gran Sport. I read a lot of bicycle forums and what not, and it seems to me like a lot of the vintage hobbyists out there can go through and refurbish a bike in a matter of days! To me, that’s pretty remarkable considering it takes me a lot longer. I started this project in July and its darn near the beginning of October. In my defense though it’s been a busy month and a very busy summer. Sometimes priorities come before hobbies I guess.
At any rate, I got around to working on the Raleigh tonight and let’s just say it was kind of frustrating. It all started out smooth however. I cleaned and lubed the down tube shifters. Nothing new on this. It was pretty basic. Again I just used the brass brush and some wd40 to  clean it up and then some 3-1 oil to rejuvenate it. I will say this about oil. I love using it. It’s a cleaner, polisher, and lubricant. I use it a lot when bringing things back to life. The only downfall to is that it attracts dirt, so I always have to keep that in mind. But when it comes to old vintage bicycles using oil can make all the difference. Along with cleaning up and installing the down tube shifters, I also lubricate the adjusting barrels with a small dab of grease on the threads. Over the years those adjusting barrels can be a pain in the butt if not lubricated! Sometimes the only way to adjust them is to use a pliers. So applying a little grease on those threads can go a very long ways in my opinion.
After the down tube shifter were installed I then began to route the cable and housing for the shifters. I used the old housing from the bike as a reference in cutting the new housing. The rear derailleur only needed one small 8 inch piece.  Now this is where I started to get a little frustrated. Typically the cable housing would use cable stops, but on this particular bicycle it does does not. The old cables didn’t have them and the cable runs are too small for the stops that I have. The cable housing back then were smaller, so if I were to do it correctly I would need “step down ferrels”. I didn’t have any so I just filed the ends of the housing instead. This is all fine except it makes the housing look a little goofy I think, and no matter how precise the length of the housing it just didn’t look right. I think with “step down ferrels” it would look a lot more professional. At this point I did the best I could to make it look decent. After I installed the cable and housing on the rear derailleur I had to make very minor adjustments on the adjusting screws. All in all the rear derailleur works and shifts perfectly. I was happy at this point.
The front derailleur is where I lost my cool. Remember earlier I stated that my front plastic simplex derailleur was cracked. Well it ended up snapping in half after I routed the cable and housing through it.  At first it seemed like it was working fine. I only had to cut a small 4 inch section of housing for it. I routed the cable and tightened it. Everything looked fine. When I started testing the functionality of it is when it decided to break. I guess the tension of the cable was too much for the weak plastic. At this point is where I stopped. I was too pissed off. Again these simplex components are light but they are just not dependable. So I guess now I have to decide if I want the right period correct front derailleur or to go with something that’ll be more dependable and less of a pain in the butt! Here’s a reference that I use a lot when it comes to adjusting cables, shifting and chains. Adjusting and installing friction cables are quite simple. If you have never done it before don’t be intimidated. The Sheldon brown article is a huge help for rookies and more experienced alike. When ever I need help with something, I usually turn to Sheldon Brown’s website first.
09/29/2017
So earlier in the week I stated that the front derailleur cracked and was unusable. I was debating whether to stick with the plastic simplex derailleur or find something that might look a little out of place but function better. I decided to fix the stupid plastic simplex derailleur. I figured I had nothing to lose so I bought some locktite adhesive. It’s kind of like a epoxy or glue. I put a few dabs in between the cracks of the simplex plastic and patiently waited a few days for it to cure. Luckily for me though, I never had to wait! I made a trip to my favorite bicycle shop in St. Paul MN called Mr. Michaels Recycles Bicycles. It’s my favorite bike shop cause its basically a bicycle junk yard. Mr. Michael fixes a lot of old bikes and gives them away to those that need them. His store has tons of parts which he sells at very reasonable prices. Parts and bikes that he sells helps pay for the costs of running the store. So its a great store with a great cause. Anyways Mr. Michaels had a box full of old plastic simplex derailleurs! I grabbed 3 for 5 bucks a piece. I figured I’d grab a couple extras knowing very well that they don’t last long. At this point my derailleur problem was solved and I cleaned installed a functional simplex derailleur on the Raleigh gran sport and threw the cracked one in the parts bin. I will state that I probably could of used the cracked one after I bonded it together with locktite. After a few days it felt very solid and probably is still functional. Now just because the plastic simplex derailleur isn’t cracked it doesn’t mean they work very well! I found that rear derailleur works fine just like any other rear derailleur but the front is a whole different story! I followed these instructions to a tee but I was having a most difficult time getting the chain to shift to the smaller chain ring! Ugh! I did some research and it turns out a lot of people have the same problem! These front simplex derailleurs are garbage! I kept adjusting it though and finally got it to where it works.  I had to put it up an inch and turn it to the left a little. As you can see in the picture, the derailleur is not on line with the crank. Just a quick note if you are working on a similar derailleur make sure to pop off the red tab with a flat head screw driver and shoot some oil inside. It needs to be lubricated from time to time. EDIT: I solved the shifting problem! The cage on the front Derailleur was worn down. I simply installed a new cage and now it shifts as it should!! Also, when mounting these plastic Simplex FD DO NOT OVER-TIGHTEN or you will crack it! Also make sure to pop the red cap and shoot some oil in there from time to time!
After I got the gears and shifter adjusted I then decided to wrap the handlebars. I’m really horrible at wrapping especially when it comes to the gel/foam wraps. Therefore, I like to stick with cloth when it comes to my handlebars. For one they are cheaper, and two their easier to install, but that’s just my personal preference. Besides if I need the comforts of gel for my hands I can always just buy gloves!  I went with a white cloth and I think it works very well with the color scheme of the Raleigh Gran Sport and it’s new white housing that I installed.
I then measured the brake housing the same way as the shifter housing. I just used the old housing as a guide to cut the new housing. I did make it a little shorter above the handlebars though. I like the distance from the top of the handlebar to the top of the brake cable housing loop to be about 3 inches. I think it looks better that way. It’s still long enough to function when making turns also.
The very last thing I did to finish my project was to clean and grease the pedals. The only difficult part here is that the pedal cap “pops” off with a flat head screw driver. I guess this was a first cause I’ve always seen it where you unscrew the pedal caps. Always remember that to loosen the pedals from the arms on most bikes you turn away from the front wheel. So to loosen the drive side pedal is normal threading so lefty loosy. For the non drive side you have to turn the wrench to the right to loosen it.
Finally I finished my Raleigh Gran Sport!!!!! In the end there were a few things I wish I could of done differently. One, I should of bought the stronglight crank puller. It only would of made sense cause using a gear puller takes way too much time. Towards the end of my project, I did end up buying one on eBay for 30 bucks. Not cheap but not overly expensive either. Secondly, I wish I would of used better bearings. I used bearings that I had bought from amazon. They were grade 25 bearings, but after doing some research there’s more to bearings than just the grade. Although it’s not a high end bike, components on older bikes like this are harder to find. So it is my feeling that it would be important to install bearings that have a good reputation. I’d hate to ruin the hubs or bottom bracket because of a default bearing.
If you enjoyed reading this write up or you have any inquiries/suggestions please hit me up with a reply. Just hit the comment link at the top of the page. Also take a look at my Gran Sport Gallery.


Nice Work!! I found your website because I just bought one today. I am curious as to what your serial # is on the BB? Thanks for a great tutorial!
Thanks Greg, my serial # starts off with a wp which I think meant it was produced in the carlton factory. wp400#### the 4 I believe stands for the year it was made…I’m not sure what the last four numbers meant. If you find out let me know, otherwise I’m going to double check, cause I’m just basing this off memory.
Greg, here’s a sheldon brown page that help’s date your Raleigh Gran Sport. https://www.sheldonbrown.com/retroraleighs/dating.html In a nutshell, 74-80’s Raleighs had a serial number where there’s two letters followed by numbers. The first, which usually is a “W” stands for the facility the frame was made. W stood for the Workshop facility. The number as mentioned is the year..so mine is a 4, so 1974 was when it was produced. If your bike is before 1974 then its serial number is different. A serial number starting with an “A” would mean it was made in 1966, a “B” 1967, a “C” 1968 and so forth all the way to “H” for 1973. Hope that helps.
I also found your website after purchasing a ’72 Grand Sports from the original owner last weekend. All original except tape, tires, and the rear derailleur having been replaced with a Shimano Light Action. So far, it’s cleaning up nicely (thanks to your write-up to use as a guide!). This may replace my 1977 Motobecane Grand Touring as my light tourer.
Awesome! and thanks for the compliment! Yeah, if I were to ride mine, I’d definitely swap out the front and rear derailleur with something a little more reliable like your shimano light action. Good luck on your project!
Hi I have a gitane tdf,I would like your help to tell me about this bike as I know nothing about it.
If you can help me I will be very grateful thank you very mucn!!!!!
Anthiny, I sent you an email with what I think I know about your bike.
In the early 70s I bought a Grand Sport from College Ave Cyclery in Berkeley Ca. Yes, a Grand Sport, for just under $200. It was my transportation until it was stolen from Laney College. Just after I’d completely cleaned it. I bought a Gran Sport after that, also from CAC, but it wasn’t the same quality as the first one. Someone said biking was catching on, and Raleigh was just pumping them out. Still I really liked that bike, and am keeping my eye out just in case another one appears. I enjoyed your rehab–thanks for sharing.
Thanks 🙂 Yeah I noticed some of them were better than others. For example, I see some Gran Sports with the Reynolds 531 tubing and others with some weird Raleigh branded tubing. I’d buy another if I ever find another locally. The color scheme is what I like about em.
I’m so glad you posted your rebuild of my favorite Raleigh Gran Sport. I bought a Gran Sport in 1975 from a bicycle shop that I worked in for 180.00 I believe it was the lowest priced Raleigh with a Reynolds Frame. (Double butted stays, front and fork said the sticker.) I had the satisfaction of assembling it myself and adding a gorgeous Campie pump that totally matched the colors of the bike. It was a great ride from the start. The big Brooks Saddle broke in beautifully and the ride was smooth and enjoyable. Not a stiff racing bike. It was more like a well-heeled touring car, comfortable ride, probably because of the gentle flex of the frame.
About 6 years later, while working in another bike shop, I rebuilt and modified the bike. Pulled the bottom bracket with an actual Stronglight crank puller. Added a plastic insert, lubed and replaced the bearings. Replaced the headset. New bearings cones and axles in both wheels. All with Phil Woods grease. I still have the original Phil Wood tube from that overhaul! New cables and housings, and handlebar tape.
For modification, I added a third chain wheel to the Stronglight crank. It replaced that shiny crank cover. In addition, the original freewheel was replaced with a 6 speed freewheel, thus making the Gran Sport an 18 speed bike long before speeds above 10speed were popular.
I replaced the rear derailleur with a mid-level SunTour unit but wound up keeping the Simplex derailleur in front because it was the only one available with the throw needed to reach the outer chain wheel. Replaced the Simplex levers with some Campie levers that were kicking around. New touring tires, liners, tubes and re-trued the Weinman rims. New pedals.
I loved that bike, It rode well, was easy to maintain and was a riding pleasure. Plus, it looked good. Unfortunately, It was stolen during a move in the mid-90’s. Replaced it with a Specialized Allez and have never enjoyed the ride compared to the Gran Sport. I’m not surprised that this bike is a sought after collectible.